A Final Taste of Summer

Greetings all!

We had a double birthday celebration this week, which was also the final week of school before the holiday. Since we are all responsible adults and we don’t eat TOO much cake 😉 I made a single tier mango cake. If you recall, I had made a mango cake a couple months ago, when I made the Yellow Car Cake, and it was very successful, so I thought I would make it again (and actually get to eat some this time!)

I have also been dying to use my Calla lily former set, that I bought months and months ago, so I though they would make the perfect toppers for this cake. So three days before the cake was due for, I sat and made several Calla lilies.

IMG_1501   IMG_1504

They were quite tricky actually, because the fondant liked to tear, instead of sitting and sticking to itself nicely. I ended up having to make double the number of lilies after 2/3 of the ones in my first batch ended up cracked when I took them off the formers.

I tinged the vanilla cream cheese/buttercream icing yellow, for the colors to match better. Plus, we were all a bit feeling tired from the long two months of school, autumnal weather that was starting up (read: rain and chilly temperatures), so a bright cake was just the thing to cheer us up.

IMG_1507

I had some leftover green icing from the soccer cake, so I used that for the edging along the bottom. My ‘swirls’ are getting better, but I do still need some practice!

DSCF0180

I colored some more fondant green, and made several leaves, to back the lilies. I thought that white flowers on yellow cake might be too pale, and the green was such a complimentary color, that it would look good. I placed the leaves in the center of the cake, in a star shape.

IMG_1508

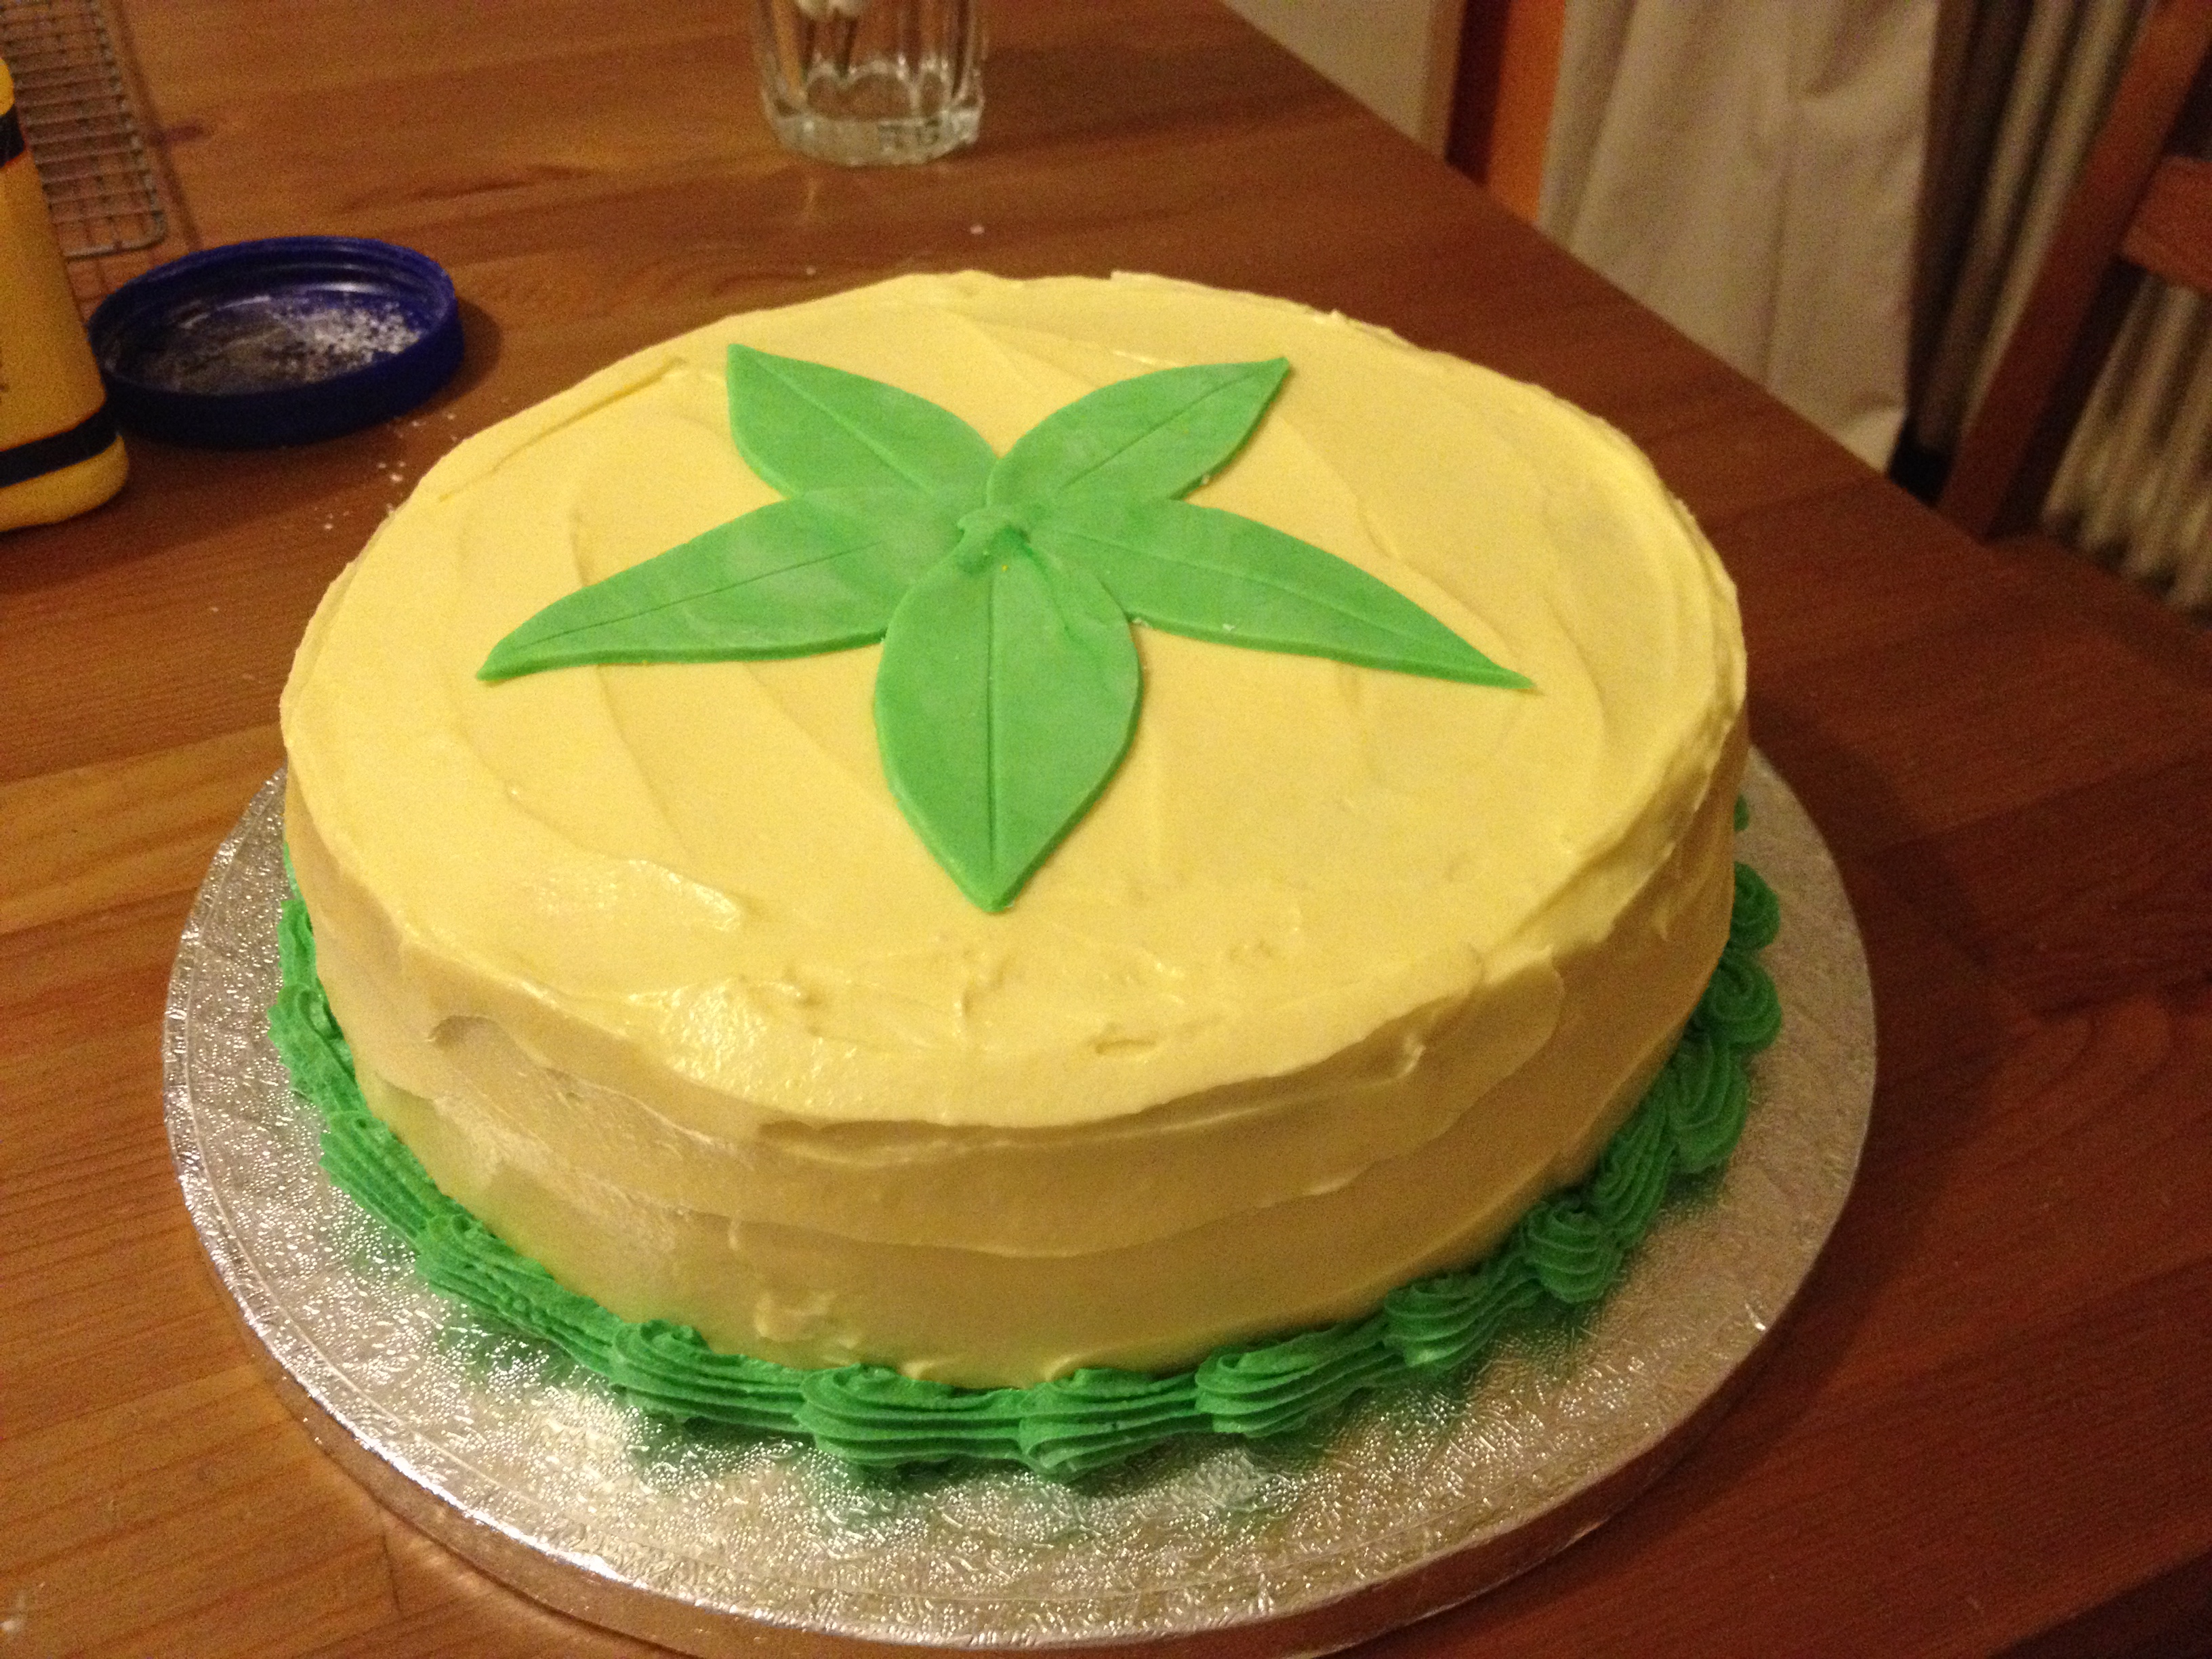
Then, I proceeded to place the lilies between the spaces of the leaves, in order to get a multi-point star shape. One thing I do need to work on is placing my center piece in the actual center of the cake. I’m close on this one but slightly off to the left.

DSCF0188

Close-up of the lilies:

DSCF0190

And ta-da! A finished mango cake with Calla lilies for decoration.

One thing I have learned from this though, is that fondant and regular icing don’t mix very well. While everything looks great in the above photos, the moisture from the icing leeched into the fondant (slightly) which caused the lilies to collapse a little by the time the cake was brought out to eat. It still looked (and was!) yummy, but the flowers weren’t as perky.

IMG_1517

Thanks for reading 🙂

Yellow Car Cake

Hey everyone!

This week’s baking adventure was one that almost didn’t happen, thanks to my forgetful memory. About two weeks ago, Sandra asked me if I could bake a cake for Armando, her sister’s boyfriend. Then, work and life got in the way, and next thing I knew, Zak was over for Halo 4 with Josh, and we were having pizza; he calls Sandra, and she’s reminding me about the cake… that’s for Friday (3 days later). I get the details (no chocolate, he likes mango, shape of a car, preferably yellow), it’s all good, and then I realize, I’m out on Thursday night for a school event- when the heck am I going to get this cake done?! I found a mango cake recipe, found a semi-tutorial to follow (because I’ve never sculpted a car before), and decide to leave right after school the next day to pop to Thionville for some ready-made fondant, mangoes, and other baking necessities.

Schedule-wise, I had to bake the cake on Wednesday because I would have zero time on Thursday to do anything major. So, I baked a mango cake:

Image

On an aside, this cake is one of my new favourites. It’s butter-less and made with fresh mango. It’s moist, delicious, and holds its shape well for carving. The website also supplied a recipe for a vanilla icing, which used a combination of cream cheese and butter, which is also a total winner. The result is creamier and simply delicious.

Anyway, after baking one 9″x13″ cake, I realized I was definitely going to need another half-recipe of it to get the height on the cake. So I woke up at 5am on Thursday to bake the cake before getting ready for work. My plan was to carve and crumb-coat the cake Thursday night after the social, but when we finally got home at 10:30pm, I was just too exhausted. Given that we were also out for a birthday party on Friday night, and I had to run an errand before 7pm (when the shops closed), I realized I had approximately 2 hours between the end of work and the time by which I had to finish the cake and handover to Sandra.

Image

By the time I crumb-coated it, it was starting to take the shape of a car.

Image

OK. I admit it, I used a Lightning McQueen car cake tutorial as my model. The fact is, all the other car cake images I found were overly complicated. Due to my time constraints, I needed something simple that was also big enough to feed around 15 people. Obviously, I didn’t decorate it in the same way.

Image

I even made little rearview mirrors, and windshield wipers. I carved, iced, and decorated this bad boy with about 1 hour and 40 minutes- a record that I don’t think I’ll ever top, because I did take some shortcuts. I lightly traced with a yellow food-safe marker the outlines of the doors, personalized mini license plates, and when I sent it off home with Sandra, I kept thinking there was something missing. Several hours later, when I was heading out to town, it finally hit me – I forgot headlights!!

Image       Image

Of course, there was also the part where there wasn’t quite enough yellow fondant to make a layer thick enough, hence the bumps, and that it overall just looked like a comic car and not a real car. The most important part, was that everyone enjoyed it 🙂

Image

Thanks for reading!