Chocolate Bouquet

This cake is for chocolate lovers. It was my third epic cake in two weeks, and I don’t think I will ever get myself into that situation again unless I am a full-time baker. Jenna requested a chocolate cake, and I had to top the one I made for her last year, which was modeled to look like a box of chocolates (tutorial by Gina on deviantART).

After a Google search, I came across this image, and thought it good inspiration for my own cake. Unfortunately, my cake pan was wider than this, and I couldn’t find chocolate fingers to make the “basket” so I simply used chocolate fondant.

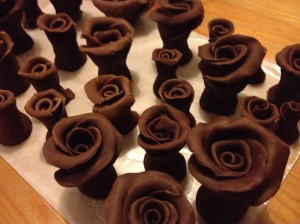
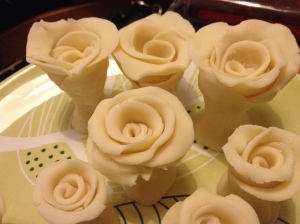
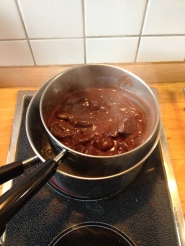
First, I looked up how to make chocolate roses. I made three batches of chocolate “plastic” (I don’t like that term), one in white, milk, and dark. This recipe was easy to follow and worked very well, but make sure you use cooking chocolate, not eating chocolate. I couldn’t find cooking chocolate for the milk and used Cote D’Or, which ended up crumbling easily when I made the roses. Then, I followed this step by step tutorial on how to form the roses.

IMG_2421     IMG_2422

It was very similar to forming fondant roses, but the chocolate hardens with exposure to the air, rather than softens after more manipulation, the way fondant does. It was easier to form the waves in the petals and curl them back because they were simultaneously hardening. With fondant, I find it is hard to get the thinness needed because it tears, and just falls off.

IMG_2424

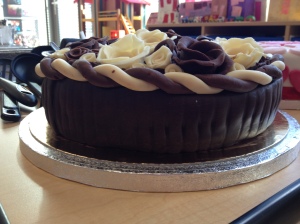
I made three different size roses, and started placing them on the chocolate buttercream covered cake. It was a mostly random arrangement, with a lot of tiny roses to intersperse the larger ones.

IMG_2426

As I got closer to the edge, I realized I needed to place something to help tie the bouquet together. So I rolled out a long snake of dark and white chocolate plastic and twisted them together to make a border. Then I continued filling in the space as much as possible.

IMG_2438     IMG_2437

Jenna was super pleased with the cake, and I’m quite happy with how it turned out. In the future though, I know I need to prep A LOT more tiny roses than I did initially. Covering an 8″ cake takes a lot of roses and a lot of patience.

Thanks for reading ^_^

S’mores Bark

This little treat was an impromptu idea, as I aimlessly browsed the internet and came across this. Now, most of the images on this series aren’t very appetizing, but the s’mores bark about halfway down caught my eye. Intrigued, I researched ways of making chocolate bark, and found Martha Stewart’s recipe, which gave me a few more directions than the image.

Once I got started though, I kind of forgot about the amounts, so ended up breaking wayyyy too much graham crackers. But that’s OK, I got to snack on them after ^_^

IMG_2289

So I melted the chocolate – 600g of Lindt cooking chocolate. Next time, I’ll stick to 400g instead. 600g makes for very thick bark, which while delicious, it’s still a lot of chocolate. It would be just as delicious with 200g less.

IMG_2288

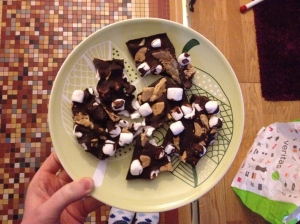
I then poured the chocolate at the bottom of a 9×13 inch pan, which I lined with wax paper, and spread the chocolate to the very corners. I alternately sprinkled broken graham crackers and mini marshmallows, and mixed up some of the chocolate over it as well.

IMG_2290

It then went into the fridge for about an hour and a half. The recipe called for just one hour, but I lost track of time, and it wasn’t too big a deal anyway.

Once I took it back out and peeled it off the wax paper, I used a knife to help make cracks in the chocolate and break it off into manageable chunks. Thus we had a lovely afternoon snack whilst catching up on Sherlock.

IMG_2294

Easiest snack I’ve made in a long time! Thanks for stopping by!

Checkmate Chocolate and Vanilla

I am back in business!! Well, sort of. What I mean to say is that the school year has started up again, and that means team birthdays, which means birthday cakes!

As I was browsing the internet recently, I came across this cool picture of a cake. And I thought to myself, “When can I next make this?” because it looks awesome. So when I was chatting with my colleagues about birthdays, we realized that our new colleague’s birthday was just last week, and she’s new to the school, so what better way to welcome her than with a belated birthday celebration!

So I started by making two cakes: a vanilla and a chocolate, and two batches of buttercream icing. Vanilla and chocolate of course 🙂

Image

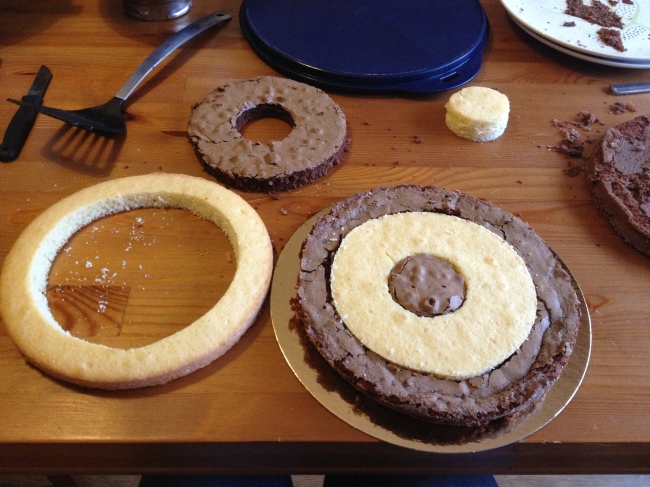
Then came the fun, and rather complicated, part. You see, The two cakes were of different consistencies. I didn’t think of that before baking them. My vanilla cake was perfect, aka, not crumbly. I couldn’t say as much for the chocolate one. The smart thing would have been to make the vanilla cake recipe twice, but put some chocolate in it, instead of making two different recipes. But hindsight is a wonderful thing, and I didn’t have it at the time. So my yummy devil’s food chocolate cake was definitely not a good cake for this.

Image

Anyway, I persevered because, on one hand, I had no choice. The cake was for the next day, I had to go to work, and it was getting late. On the other hand, I don’t like fail, so it was a point of pride. I couldn’t accept tossing it all in the trash and buying a cake instead. So I put it all together, and got a pretty cool-looking cake.

Image

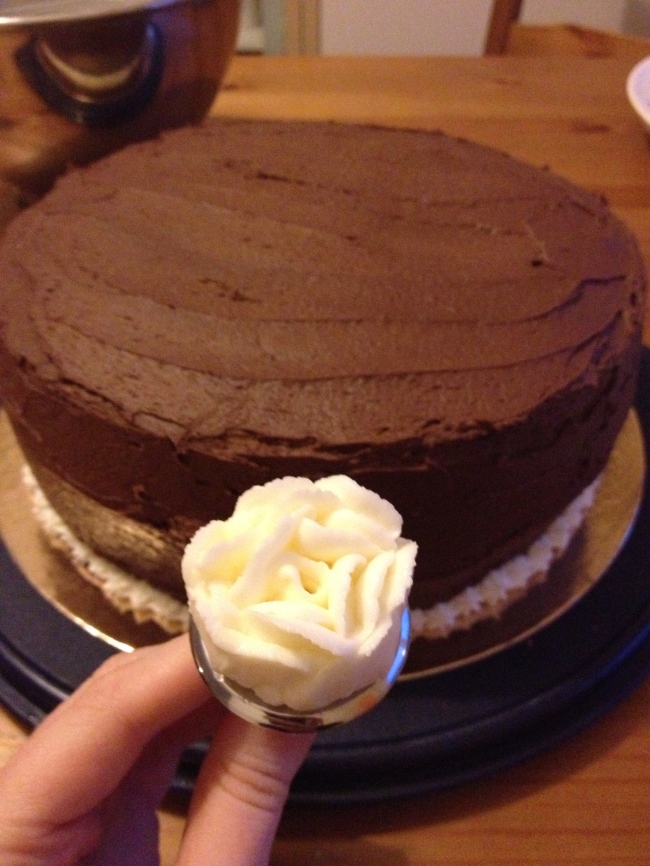
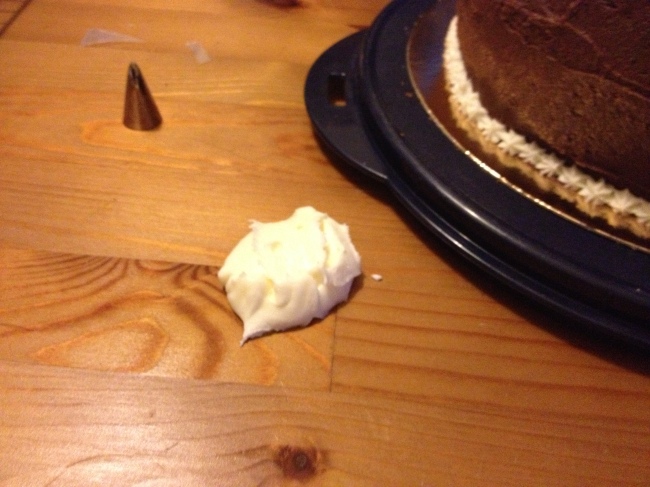
Finally, I got to the fun part. I covered the whole cake in chocolate buttercream icing. I love using buttercream because it has a real rich flavor, and I will always use butter over shortening when I can. For my overall decorating, I decided to pipe vanilla buttercream stars along to bottom to hide the edge of the cake, and to make buttercream roses to put on the top. Since Birgitta is new and I don’t know her tastes, I preferred to play it safe with flavors and decorations.

Image

Buttercream roses are fairly easy to shape. The important part is to keep the icing from getting too warm, because then, the roses no longer hold their shape. For the last two or three roses, I did actually stick my icing bag in the freezer for three minutes, just to firm things up. I learned how to make these from a video tutorial. Best tutorial I’ve found on these so far! Anyway, despite all of that, my first rose was a bit of a flop:

Image

But in the end, I did have a completed cake, that I was inordinately proud of (not the least because I managed to place nine buttercream roses on the cake without screwing things up).

Image

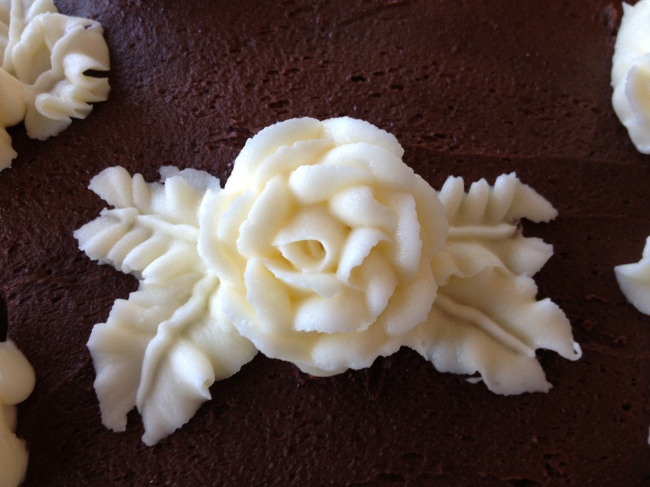
And the obligatory closeup of the rose centerpiece:

Image

Now, before all the cool decorating stuff, remember that I made a vanilla and a chocolate cake, and literally “cut and pasted” them together. So the final effect once I cut into the cake was this!

Image

Needless to say, my colleagues were very impressed… as was I! As always, I am thankful things seemed to work out. Although given the unevenness of the checkers in the cake, it is clear that I need to invest in some proper measuring tools, rather than guestimating with bowls and such.

Thanks for reading!

Chocolate & Caramel

On this stormy wet Thursday, I’d like to share with you the chocolate and caramel cake I made for a friend’s birthday. This was a surprise cake, as I coordinated with her fiancé what her favorite flavors were, and went from there. He told me, chocolate and caramel. So I turned to my friend Google, and searched for cakes with those flavorings.

The BBC Good Food website showed me a promising recipe. And it was a layer cake! I’ve wanted to do one of those for a long time, so it seemed everything was coming together.

So first, I made the four layers:

Image Image

What I loved about this cake is that it’s just two cakes, not four. Each layer is halved, with one half receiving cocoa (to give it a darker shade) and the other not. I was afraid this cake would end up way too tall, but by using half-cakes for each layer, it was fine. Also, using Wilton’s aluminum cake pans is superb for getting even-topped cakes.

Then came the fun part of spreading yummy caramel on three of the four cakes, and layering them to get the gradient:

Image

This cake used a ganache covering rather than icing, and it was the first time I used that too. It was quite warm and humid outside and there’s no air-conditioning where we live, so I don’t know if the ganache refused to thicken because of that, or if it was the right consistency. Personally I thought it was a bit too runny, but since I’m used to working with actual icing, it could just be a warped point of view. Anyway, I was able to spread it, and I did so in three layers. After each layer, I put the cake in the fridge for at least an hour, for the ganache to harden before spreading the next layer. As a final touch, just before we left for the birthday dinner, I added three (store-bought) sugar daisies to spruce up the cake:

Image Image

The restaurant where the birthday dinner was held, was kind enough to take the cake and prepare it as the dessert, at no extra charge. I could hardly believe I had baked the cake when they brought it back out!

Image

The cake itself was fairly rich, so you wouldn’t want to serve big slices. This cake was 9″ in diameter, and served 15 perfect-sized slices. So, if you like chocolate and caramel, and you want a decadent dessert, this is the cake for you!